Setup Windows Explorer
On this page you can find the explanation of how to add the WebDAV server as network location, in 7 simple steps. That way, you can browse the WebDAV server with Windows Explorer.
Guide
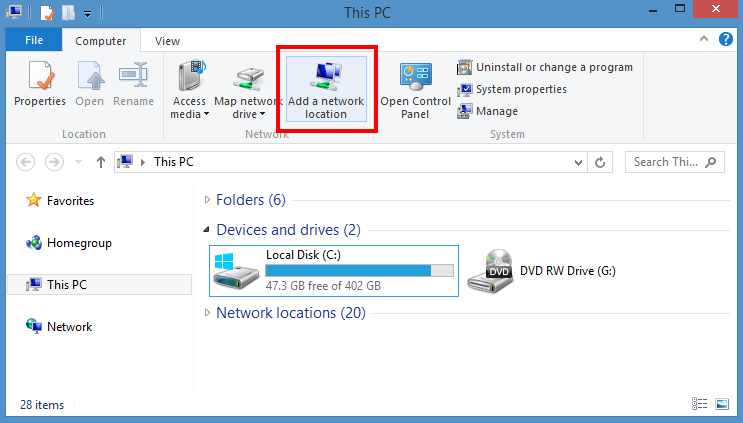
Step 1
First, go to “This PC” (or “My Computer”) and click on the “Computer” tab. After that, click on “Add a network location”.
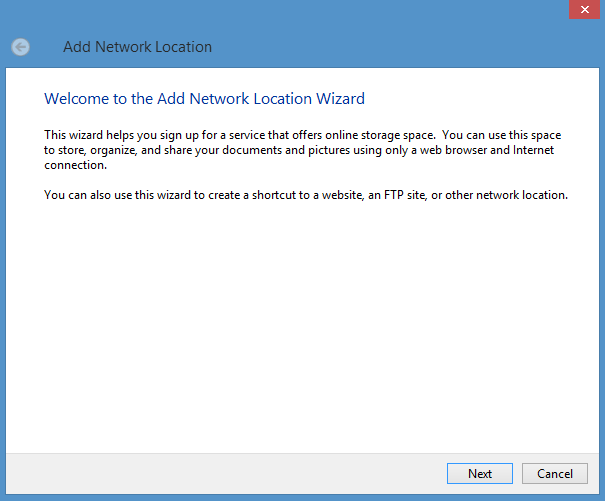
Step 2
When you have clicked on “Add a network location”, the following window will be shown. Click “Next” to continue.
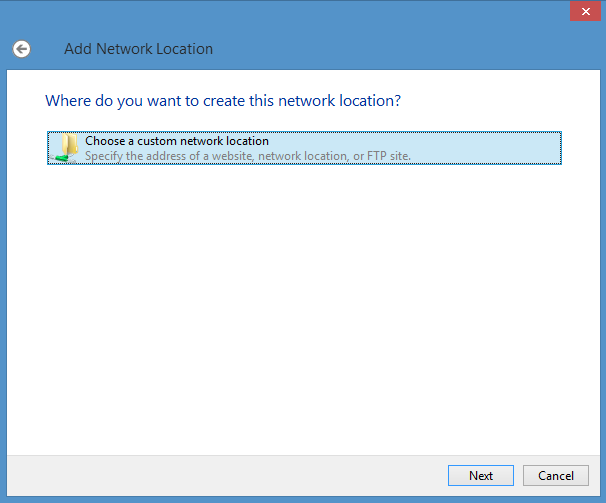
Step 3
Here, select the “Choose a custom network location” and click “Next” to continue.
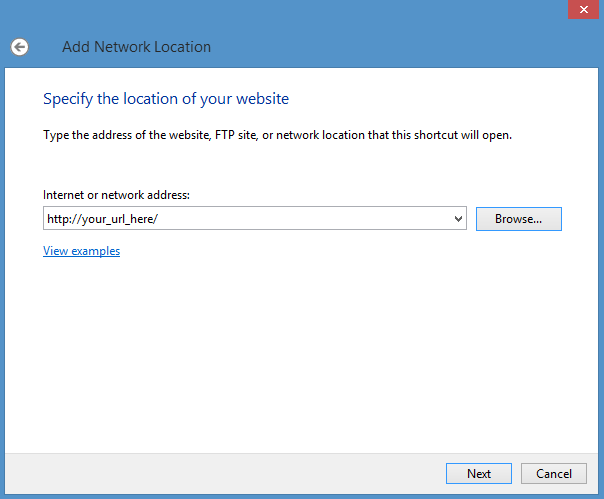
Step 4
In this window, fill in your URL to the server.
For example, http://localhost/ will map localhost at port 80.
You can also specify the port in your URL, for example, http://localhost:3000/ will map localhost at port 3000.
And you can even give up a subdirectory of your server.
For example, the http://localhost:3000/subdir will map the directory “subdir” in your server at port 3000.
After filling in your URL, click “Next” to continue.
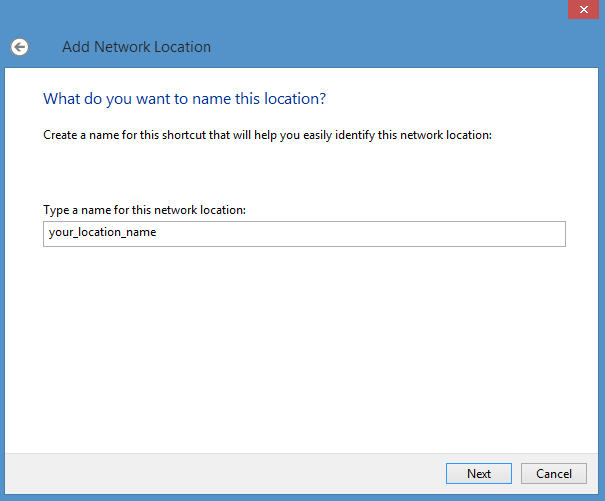
Step 5
If the URL you filled in is a valid network location, you will be asked to name your network location. You can fill in any name you want. After that, click on “Next” to continue.
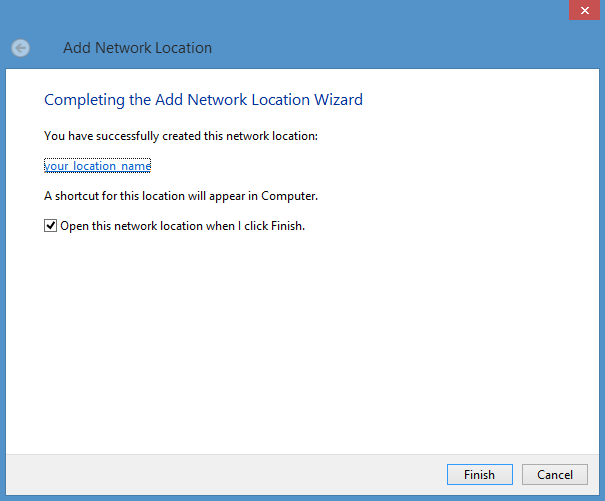
Step 6
If everything went well, you get the following screen. Click on “Finish” to complete the process.
Step 7
Go to “This PC” (or “My Computer”) to check if your server is successfully added.
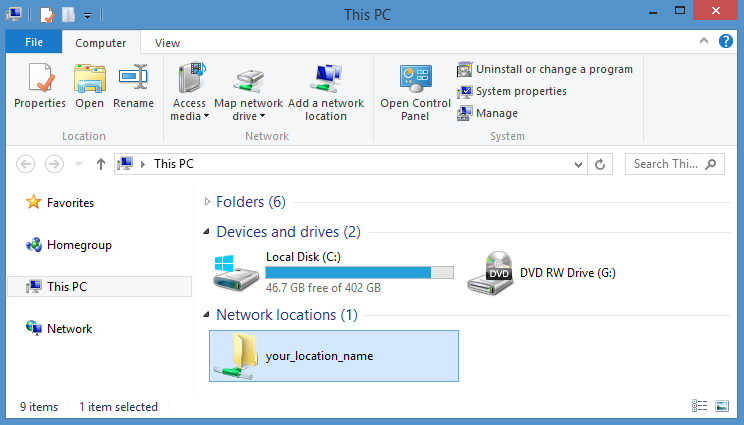
If this is the case, you’ve successfully added the server as a network location. You can click on the shortcut to go to the WebDAV server with Windows Explorer.