Setup CarotDAV
On this page you can find the explanation of how to configure a CarotDAV client to work with the WebDAV server.
Guide
Step 1
Go to the website of CarotDAV by the following link. Download and install CarotDAV on your machine. After the installation is done, run the program.
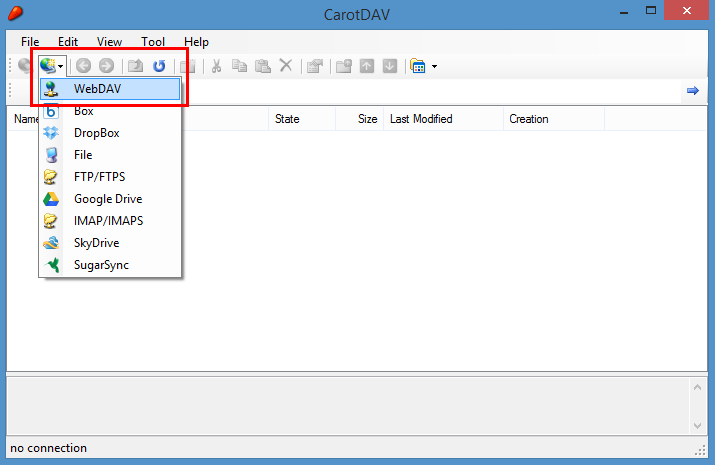
Step 2
Once the program has been started, click on the “New Connection” icon. A dropdown will be shown and you need to select the WebDAV option.
Step 3
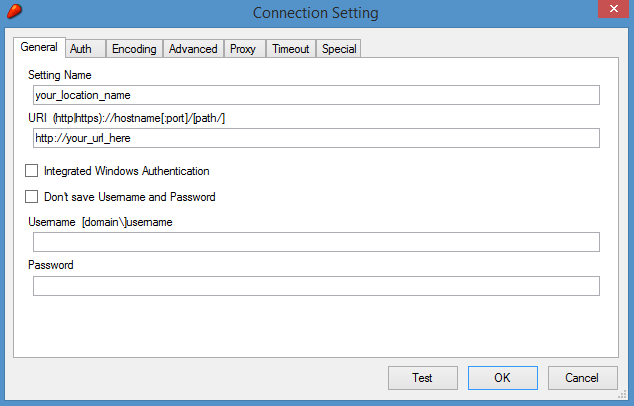
A new window opens where you can fill in the configuration information.
The “Setting Name” is the name you want to give your WebDAV server entry in the CarotDAV overview.
In the “URI” textfield, fill in your URL to the server.
For example, http://localhost/ will map localhost at port 80.
You can also specify the port in your URL, for example, http://localhost:3000/ will map localhost at port 3000.
And you can even give up a subdirectory of your server.
For example, the http://localhost:3000/subdir will map the directory “subdir” in your server at port 3000.
Step 4
Click on the “Auth” tab and check that the needed authentication methods are checked. For WebDAV#, it’s important to check the Negotiate checkbox, because WebDAV# makes, by default, use of the Negotiate authentication method.
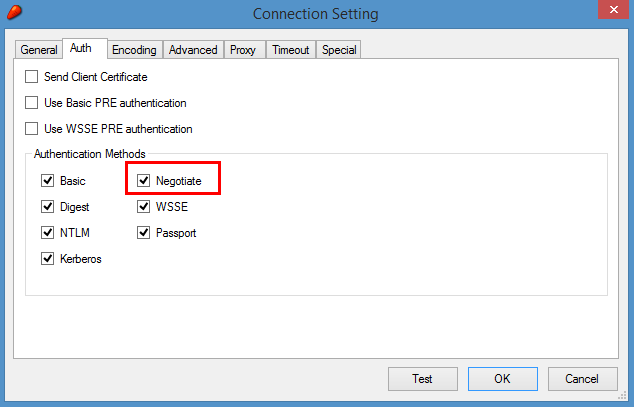
Click on the “OK” button to complete the process.
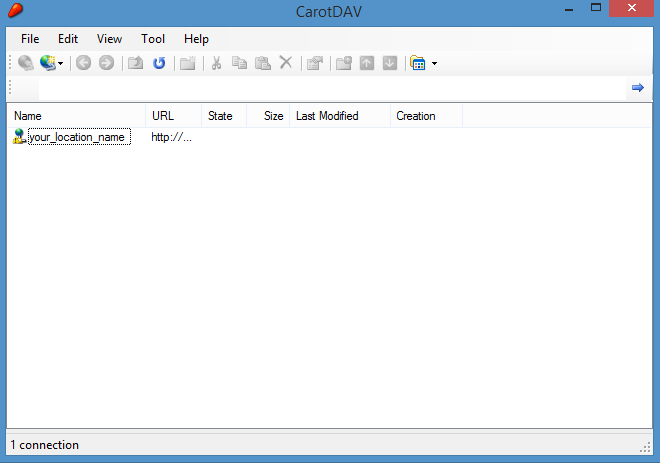
Step 5
If everything went well, you’ll see a new WebDAV entry with your chosen name in the CarotDAV overview. Click on the entry to access it.